Selective Color Editing Shader and Workflow
This is the documentation of a selective color editing shader and workflow allowing for easy and intuitive color editing of game assets. It can simplify processes of creating character variations and color randomization. This example allows for selective editing of 6 color areas but it can be scaled for more colors if needed.
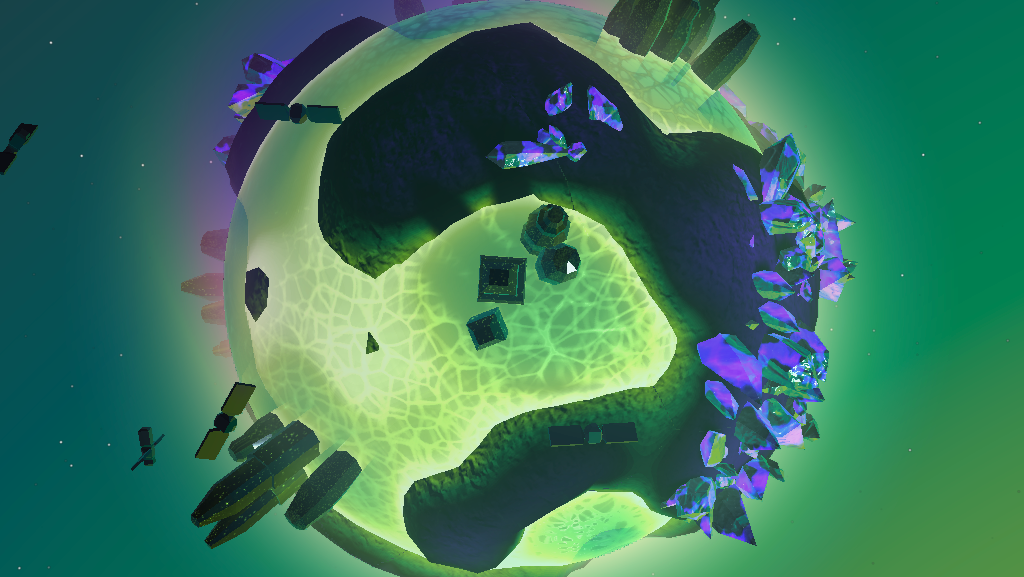
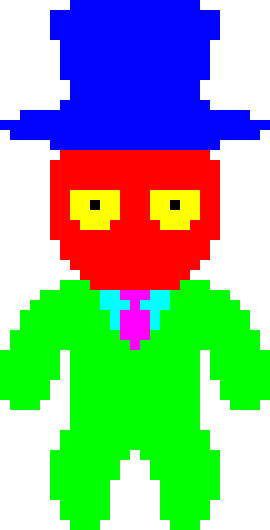
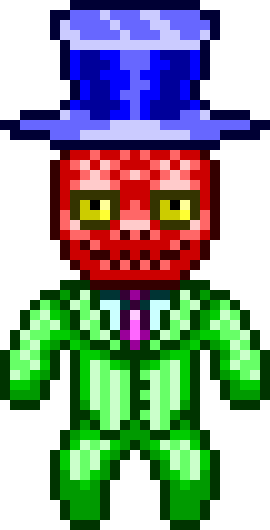
The asset production phase starts with designing the asset as in figure 1 below. This will be like concept art. The actual asset we will take into the game engine will be separated into color areas, R G B C M and Y. The lightness values in each color area should cover the widest range possible between black and white, in other words high contrast. If we are working with pixel art, value levels should be linearly spread. The values may not seem right at this stage but it is not important. We are only packing data to be used by the shader. Remember, grayscale areas will not be editable so don't use white and black inside color areas. Having the highest values in 0.9 and the lowest in 0.1 is ok. We can make them black or white later in the game engine. Figure 3 is the game ready asset.
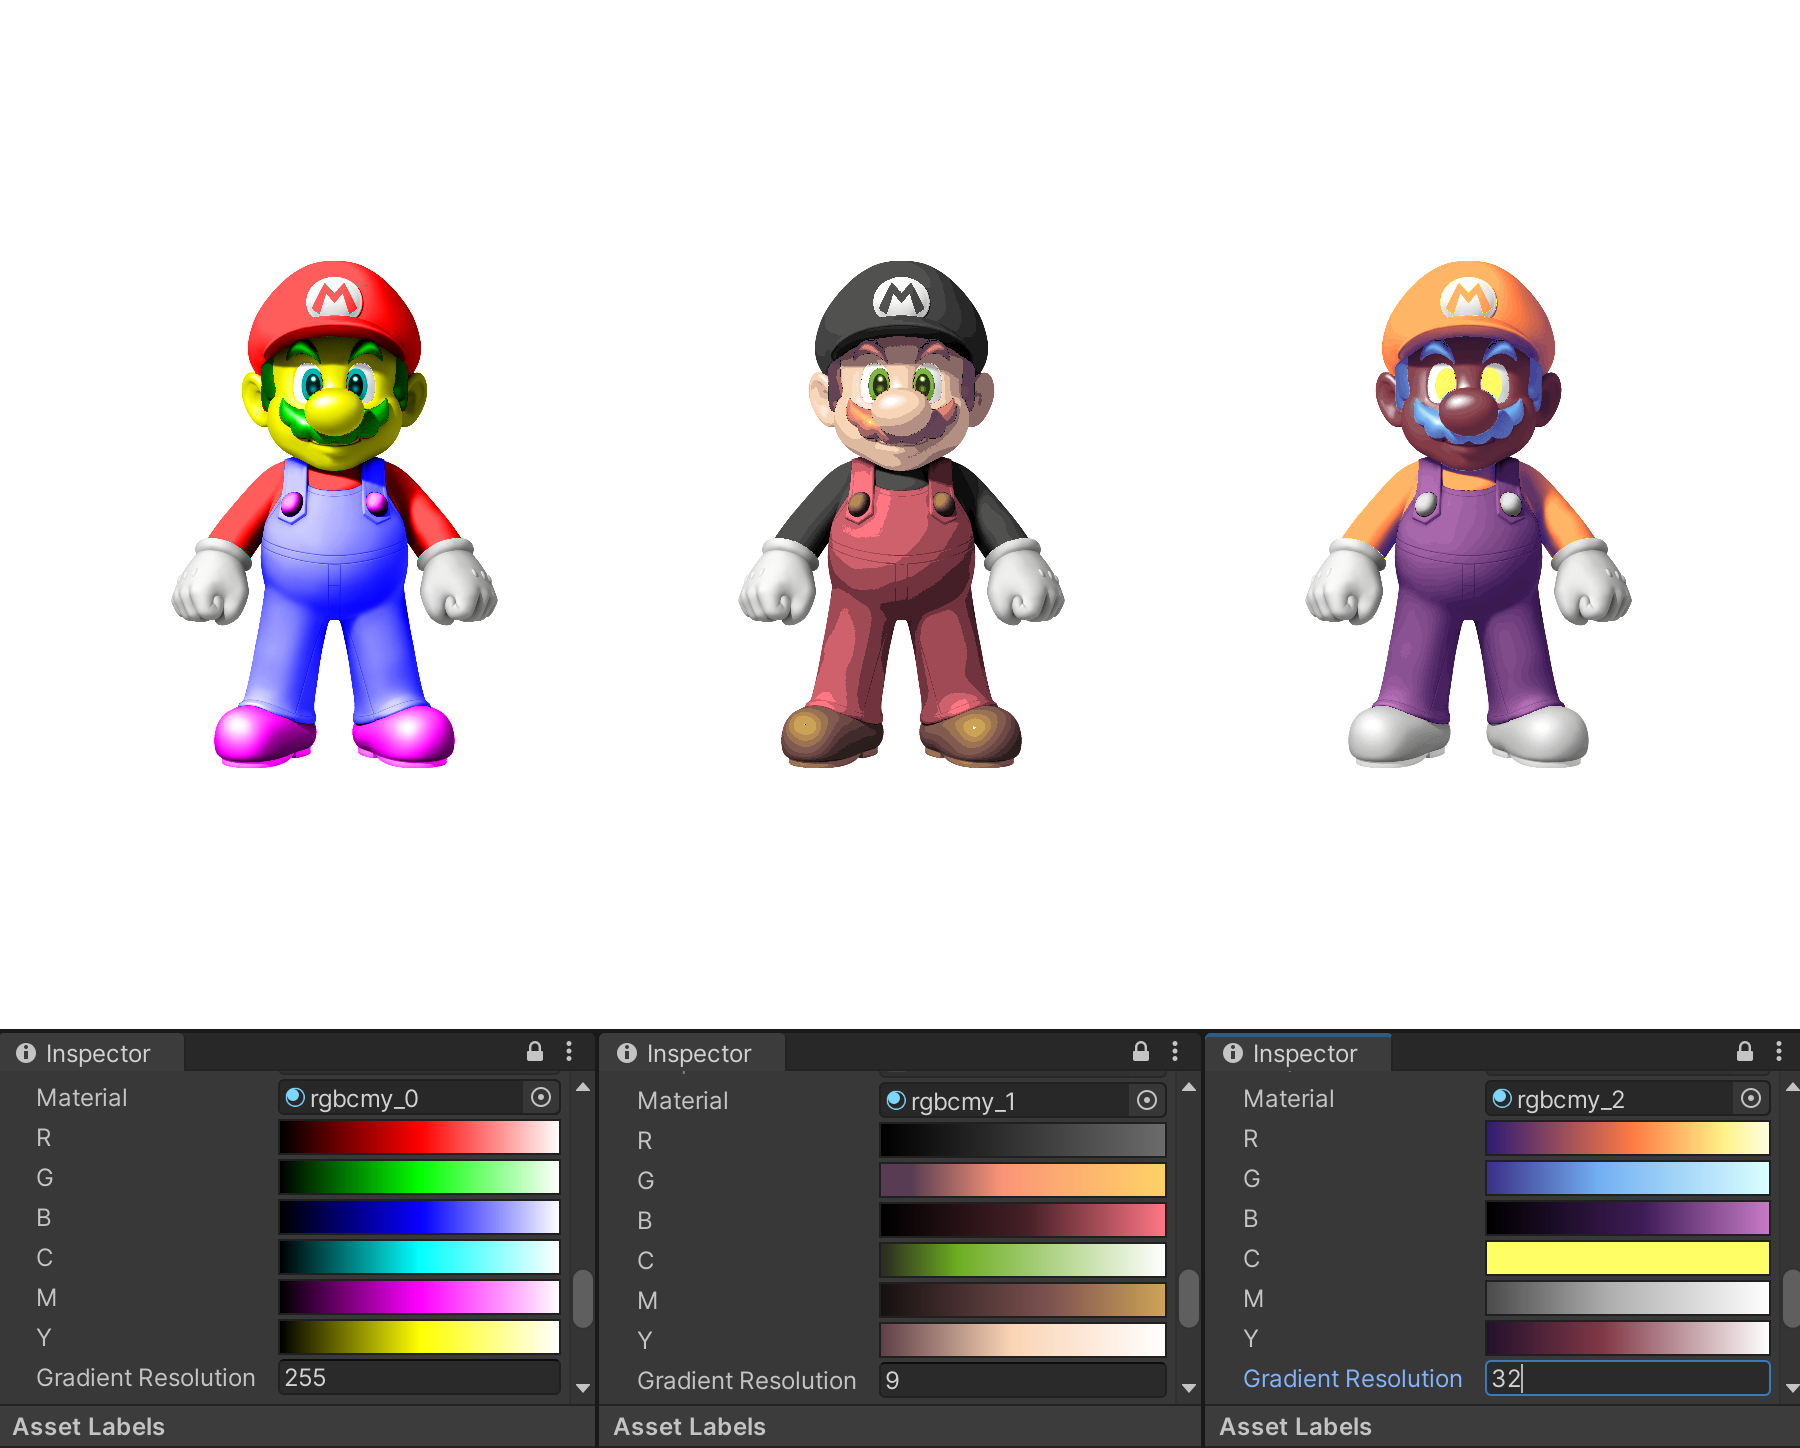
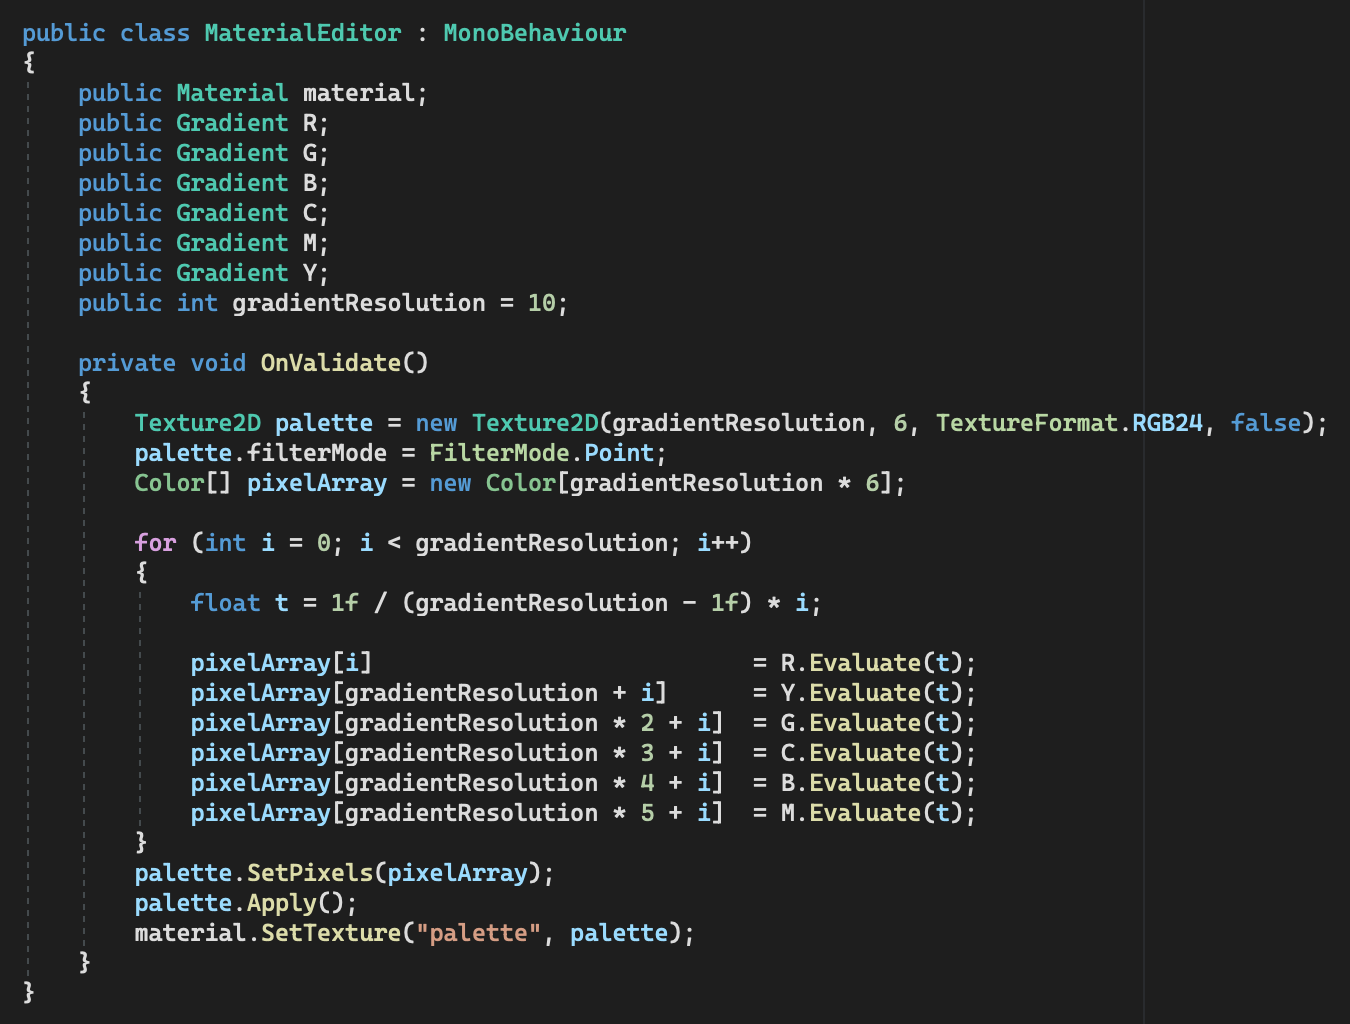
We will use a material editor that lets us assign a color gradient to each color area and combines them into a texture for the shader to use. The gradient resolution determines the x dimension of the texture and the y dimension is determined by the number of color areas we will be using. The gradient resolution can be kept fairly low for pixel art. We will have generated a small palette texture for each material we create with this tool.
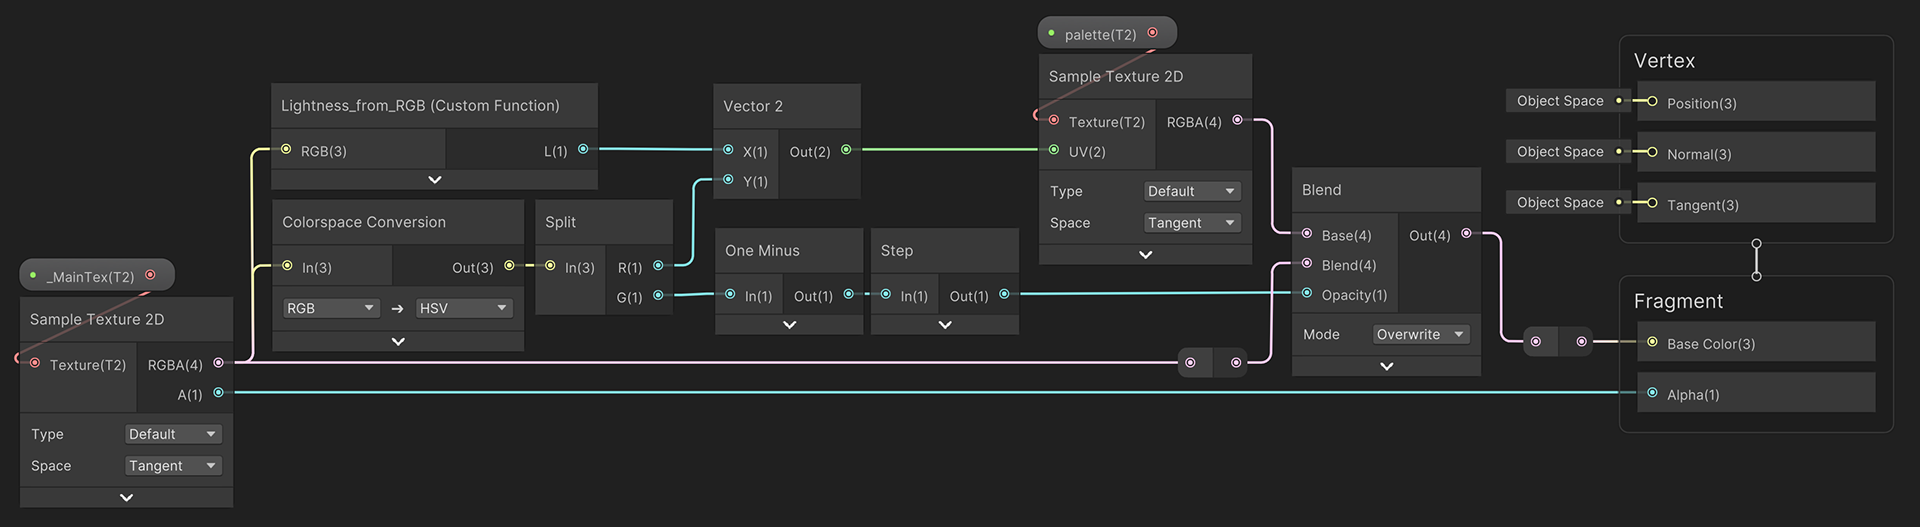
The shader will use the hue and lightness values from the main texture respectively as the y and x values of the UV to sample the palette texture. The grayscale values will override this but if needed, we can add brightness and contrast controls or even another gradient for the grayscale. If we wanted to use more color areas, their hues must be equally apart and we must change the y dimension of the palette texture accordingly.
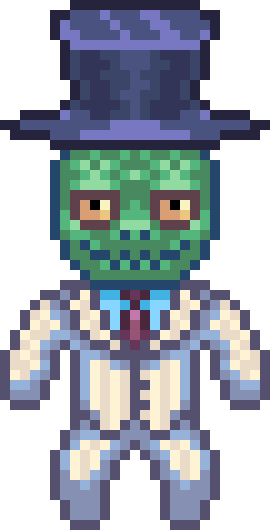
Now we can recreate our concept art colors and more inside the editor. We can also do this at runtime and create material instances.

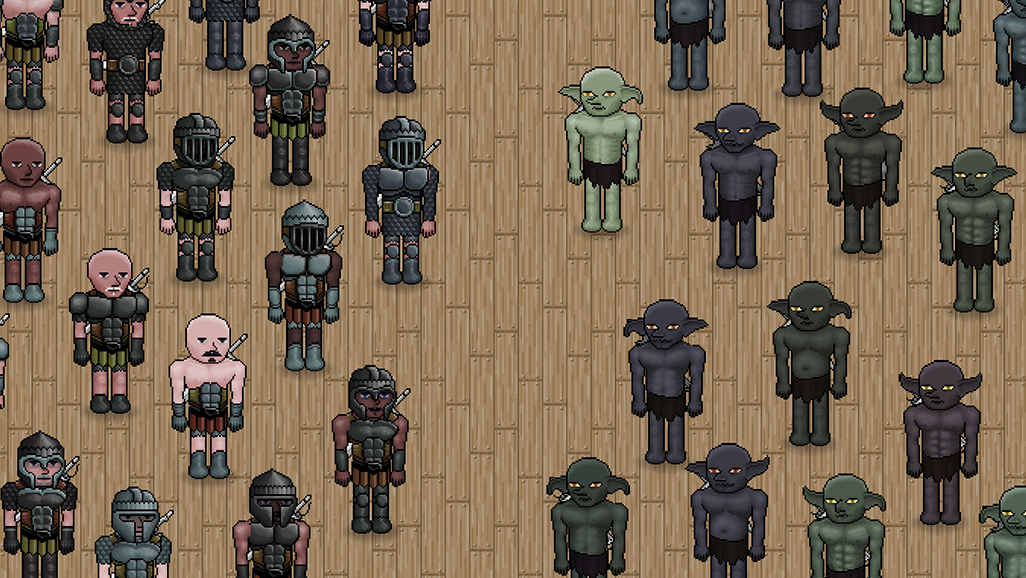
When we are using assets with higher value resolutions, we must increase the gradient resolution or stratification will occur as can be seen in Figure 2 below. In no case will you need to go over 256 and even 32 will look fine in most cases as can be seen in Figure 3.